
「3Dに強い」「クロスプラットフォーム」なUnityなら、なんだかんだアプリ開発で色々できるワザが多いのではと思って、以前安直にインストールしたっきり何も手付かずで長い期間過ごしていました。
せっかくWebカメラを使ってあれこれやっているのだから、遅かれスマホ開発に行きつくでしょう。勉強しなおしついでにやってみました。
おもちゃラボさんの【Unity】Webカメラの画像を加工して表示するを参考させていただいております。手順通りでばっちりできました。私の環境のせいか少々ハマったところもあったので備忘録しておきます。
手順
プロジェクト作成
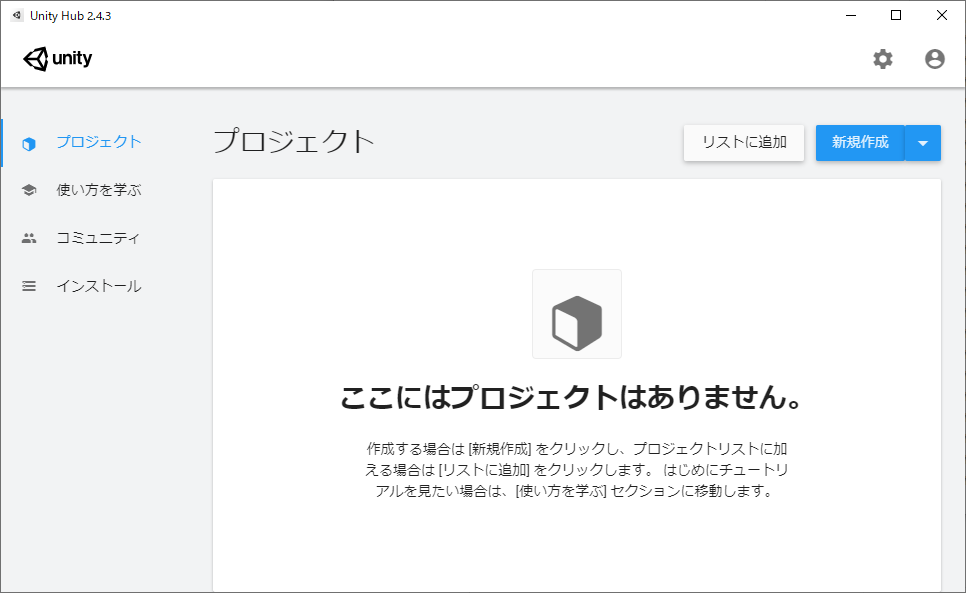
Unityをインストールしたら、UnityHubなるものがインストールされました。
はて?Unityを起動するのでは?と思いましたが、UnityHubは異なるバージョンをインストールしたり、作成されたプロジェクトを管理してくれたりとやってくれるもののようです。
手順に従い「新規作成」をクリック。
保存先を聞かれるので設定します。
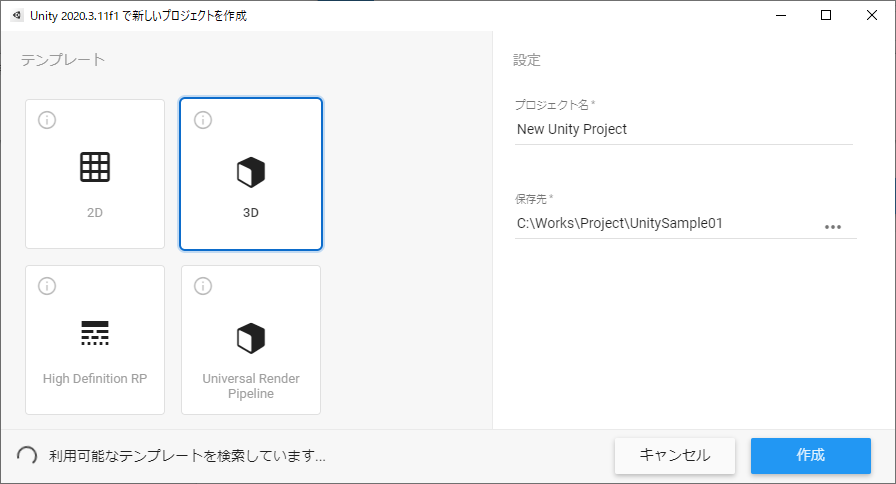
今回もいつものように、Cドライブ直下にWorksというフォルダを作って、その中にProjectsフォルダを作っています。その中に今回のUnityサンプルプロジェク用トフォルダ「UnitySample01」フォルダを作成し、そいつを指定します。
「作成」ボタンを押すとこの画面が始まりました。
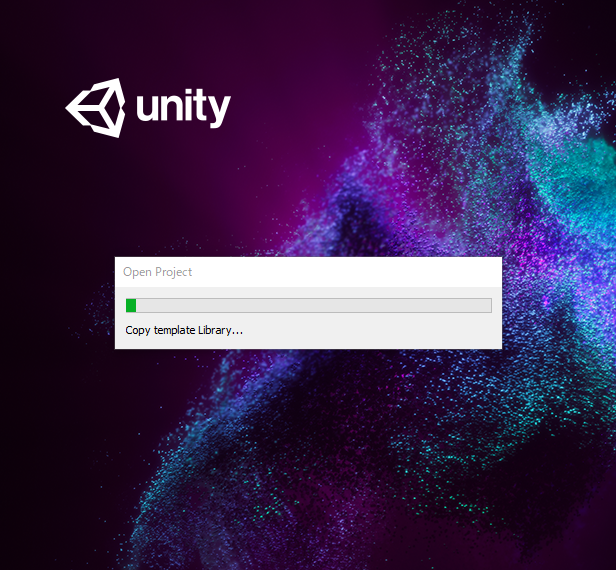
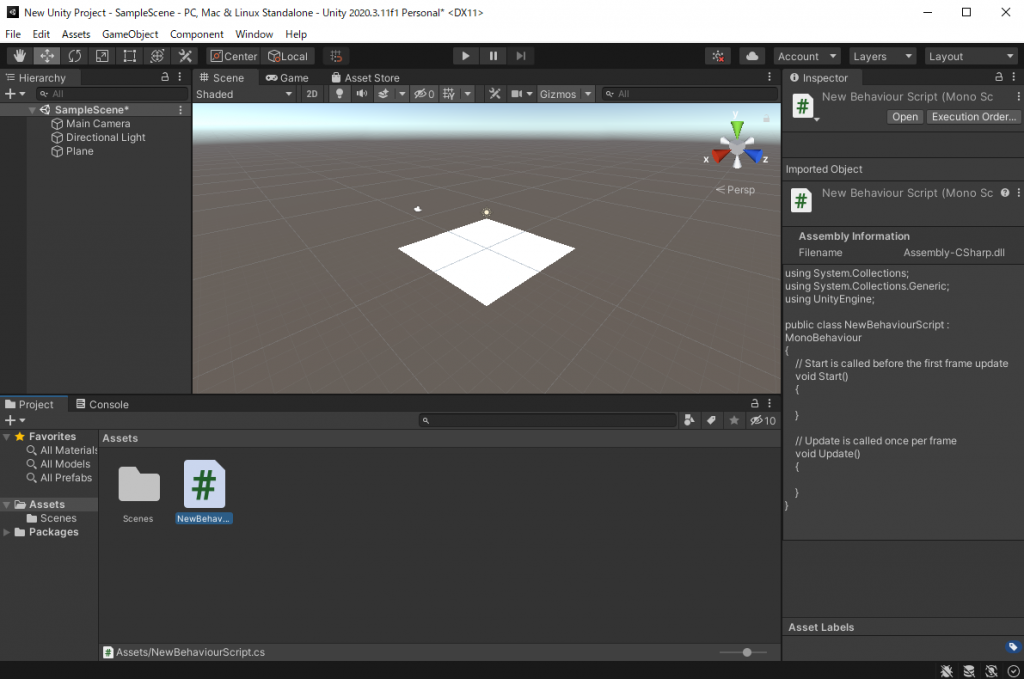
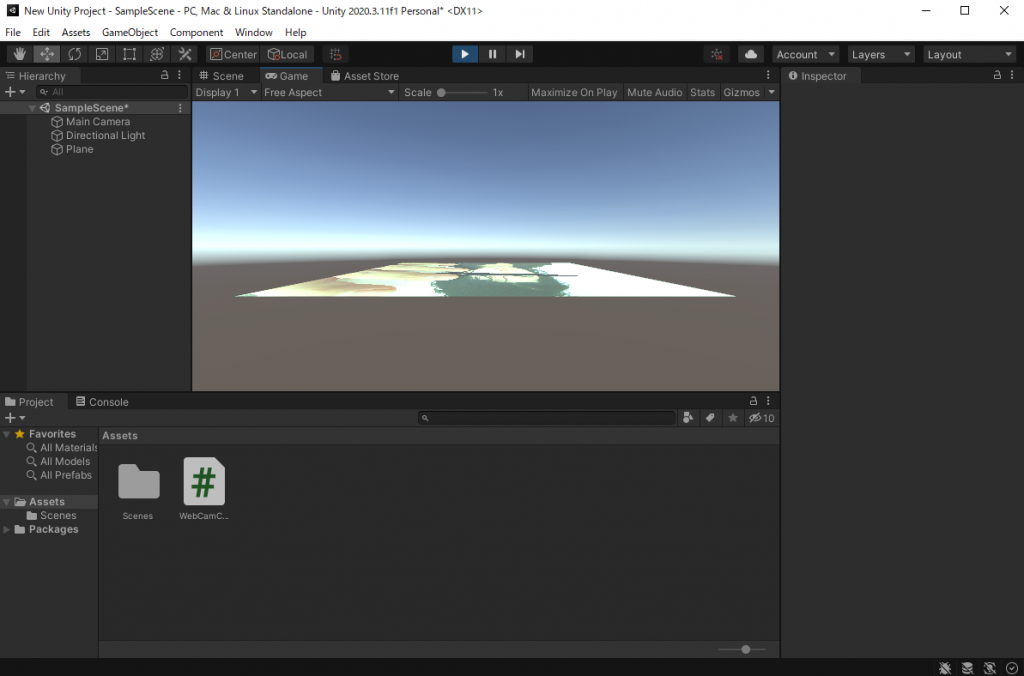
そのまま待つと下の画面のように表示されUnityが起動したことが分かります。
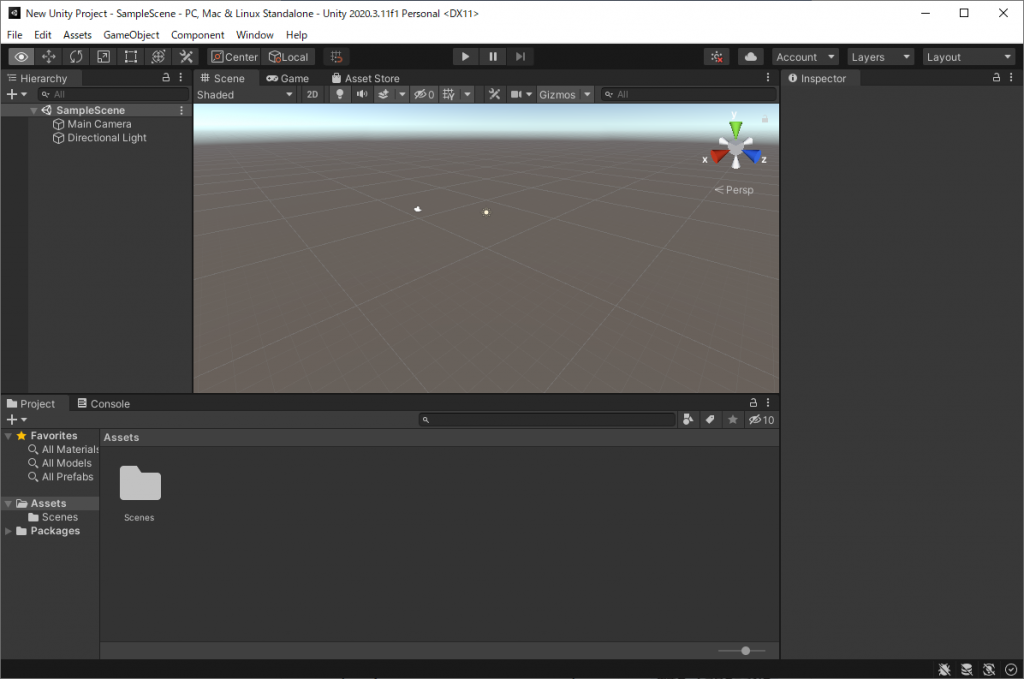
画面中央上にある再生マークを押すと実行。色が変わるのでもう一度押すと停止のようです。

カメラ映像を表示させるオブジェクトを配置
左上にある Hierarchy(ヒエラルキー)の「+」クリックし、3D Object->Plane をクリック
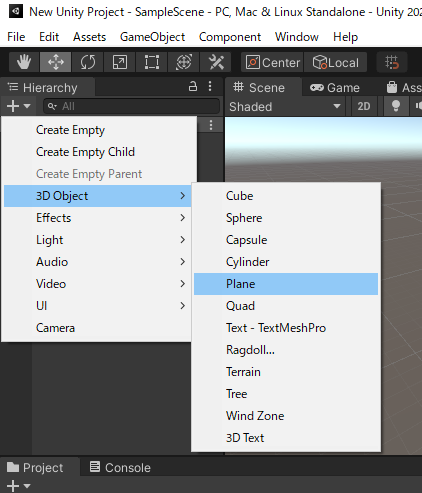
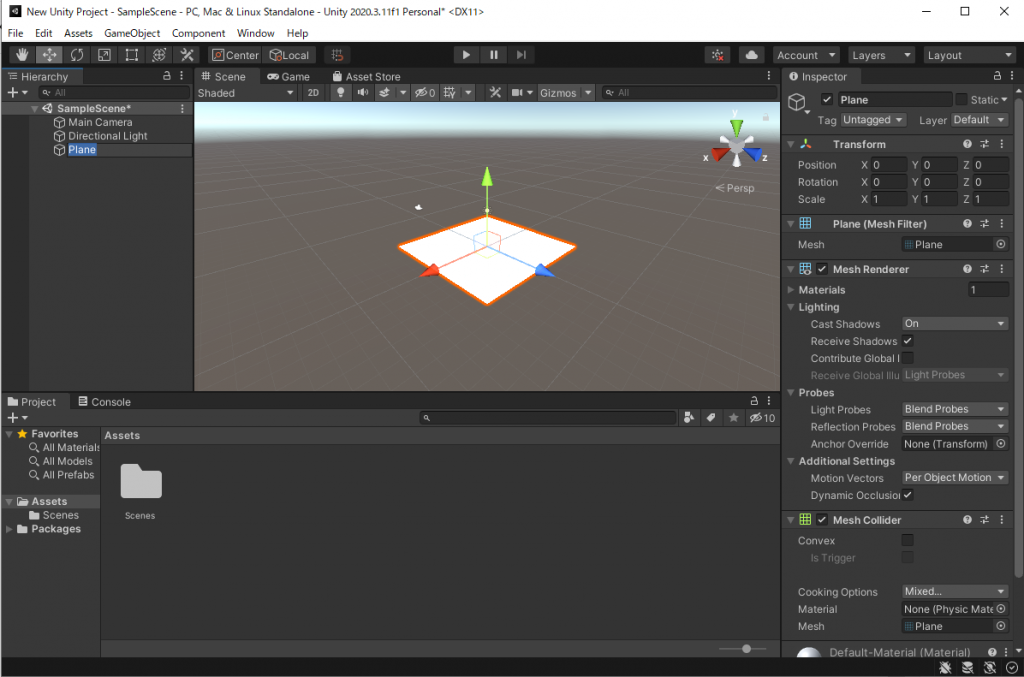
画面にパネルが配置されました。同じくヒエラルキーウインドウにも「Plane」というものが追加されました。
スクリプト追加
カメラを制御するためのプログラミングを行います。
プロジェクトウィンドウで右クリックし、Create-> C# Script をクリックします。
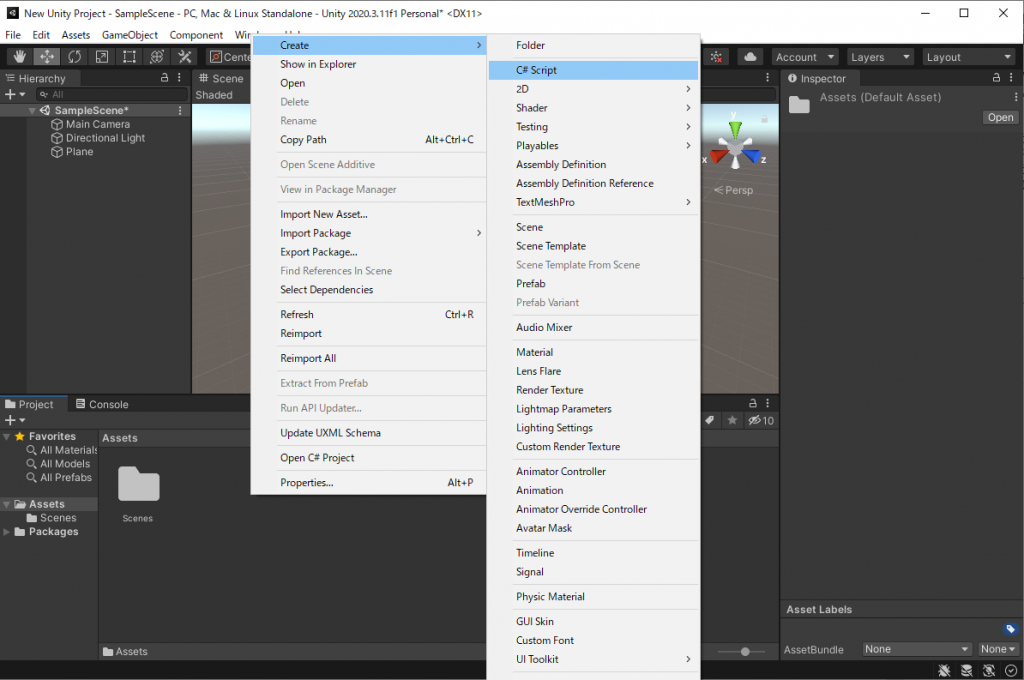
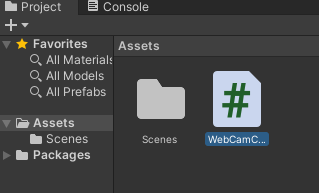
こんな具合で「NewBehavior」というものが追加されています。
「#」とついているあたりが”C#で記述しているファイル”といういう意味ですね。
このファイルの名前を「WebCamController」と変えましょう。
ダブルクリックしてコードを変更します。
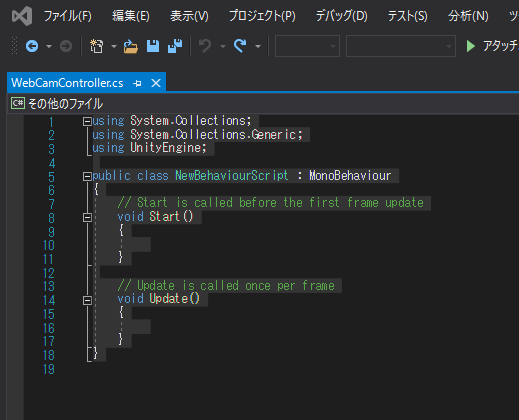
私の場合はVisualStudioがインストールされているので、VisualStudioが立ち上がりこんな具合で表示されました。
変更前の初期コードはこんな具合。
※ファイル名は変えましたが、Class名が「NewBehavior」となっています。
この後変更されますが、ファイル名=クラス名がお約束だったと思うので、名前だけ変えるのは気を付けなきゃいけませんね。・・・リファクタリングとあるのかな?
using System.Collections;
using System.Collections.Generic;
using UnityEngine;

public class NewBehaviourScript : MonoBehaviour
{
    // Start is called before the first frame update
    void Start()
    {

    }

    // Update is called once per frame
    void Update()
    {

    }
}
それを、以下のように変更します。
下記のコードを丸々コピーでもOKです。
using System.Collections;
using System.Collections.Generic;
using UnityEngine;

public class WebCamController : MonoBehaviour
 {
    int width = 1920;
    int height = 1080;
    int fps = 30;
    WebCamTexture webcamTexture;

    void Start () {
        WebCamDevice[] devices = WebCamTexture.devices;
        webcamTexture = new WebCamTexture(devices[0].name, this.width, this.height, this.fps);
        GetComponent<Renderer> ().material.mainTexture = webcamTexture;
        webcamTexture.Play();
    }
}
オブジェクトにアタッチ
先ほど追加したヒエラルキーウインドウの「Plane」をクリックし選択状態にします。
プロジェクトウインドウの「WebCamController」を「Plane」にドラックしてマウスを重ねるとアイコンが変わるのでドラッグします。
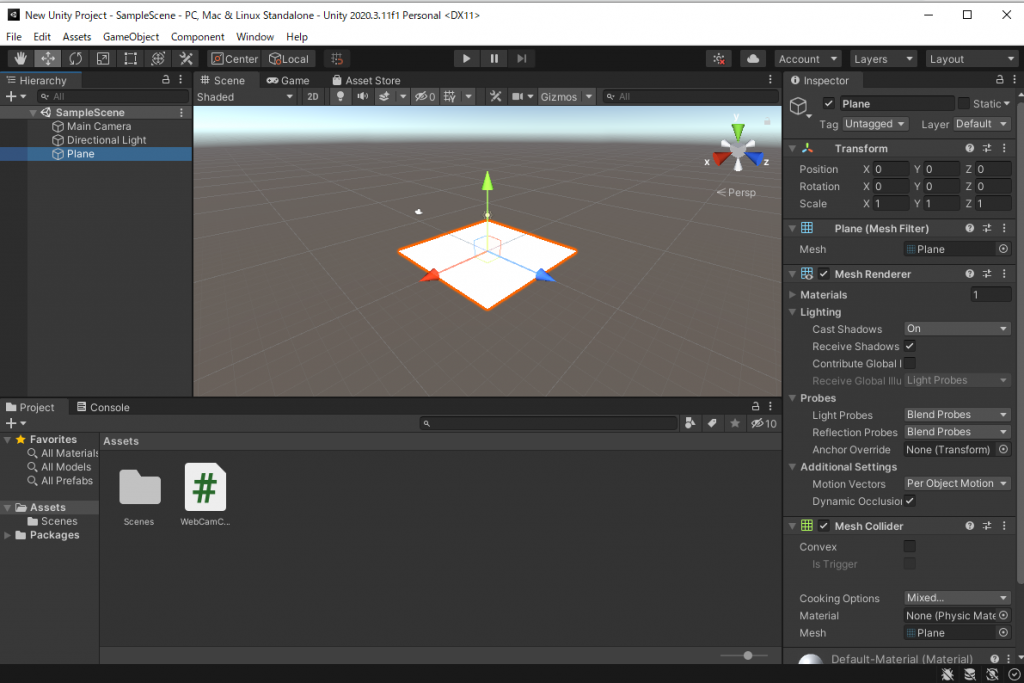
インスペクターウインドウに「Web Cam Controller」と追加されているのがわかります。
ちなみにできているのが気づかず何度もドラッグするとその分追加されるので、縦になった”・・・”をクリック、若しくはコンポーネント名上で右クリックし、出てきたメニューの「RemoveComponent」で削除できます。

実行
画面中央上にある再生マークを押して実行。
何か移っている!
カメラ前の絵を動かすと画面中の”何か”動き、”紙を持っている手”も見えるのでカメラの映像であることがわかりました。
見ずらいのはオブジェクトの向きが水平だからのようですね。
回転させれば回転しますので、Planeの表面がカメラ映像のスクリーンになっている様子。
カメラ未接続だとエラー
ちなみに、カメラを接続しないで実行すると何も起こらず、画面左下に「IndexOutOfRangeException:Index was outside the bounds of the array.」と出ているのがわかります。
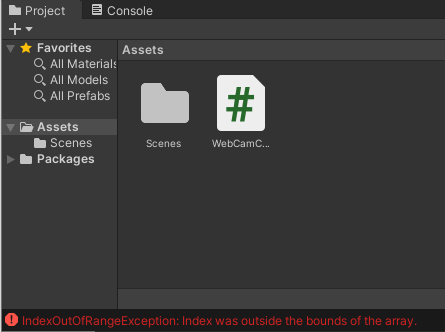
コレはスクリプト中の
WebCamDevice[] devices = WebCamTexture.devices;
webcamTexture = new WebCamTexture(devices[0].name, this.width, this.height, this.fps);
次行のdevices[0]で初めの要素を指定していますが、このdevicesが何も取れていないので配列がOutOfRange=範囲外というわけですね。
次回はコレを使って、顔認識をやっていきたいと思います。
アップデート中におこったこと
しばらくぶりに起動したので、アップデートについて表示がありました。
何も気にせずアップデートしたつもりが、Unityを起動中のためアップデート中に怒られました。
起動していたUnityを閉じて「再試行」しましたが進まず・・・。
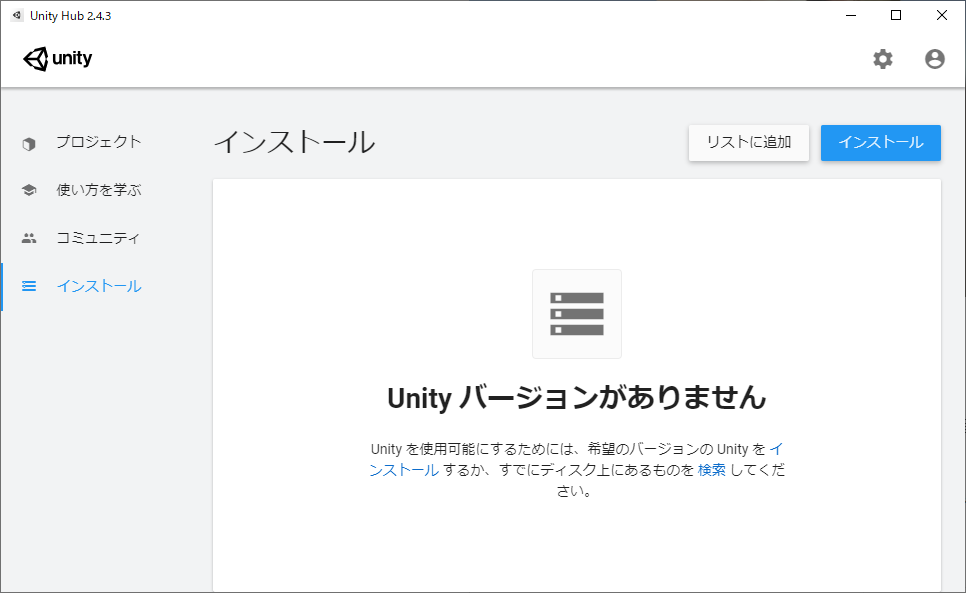
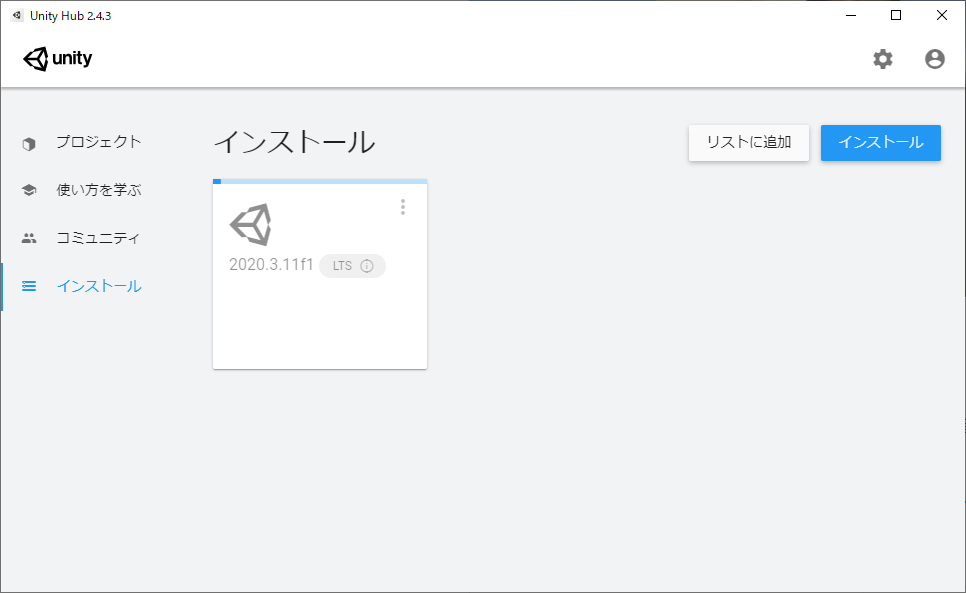
仕方ないので中止してUnityHubを起動したら、Unityバージョンがありません と表示されていました。
なるほど、削除はちゃんとできていたということでしょうか。
ということで、その時のインストールをキャプチャしたので載せておきます。
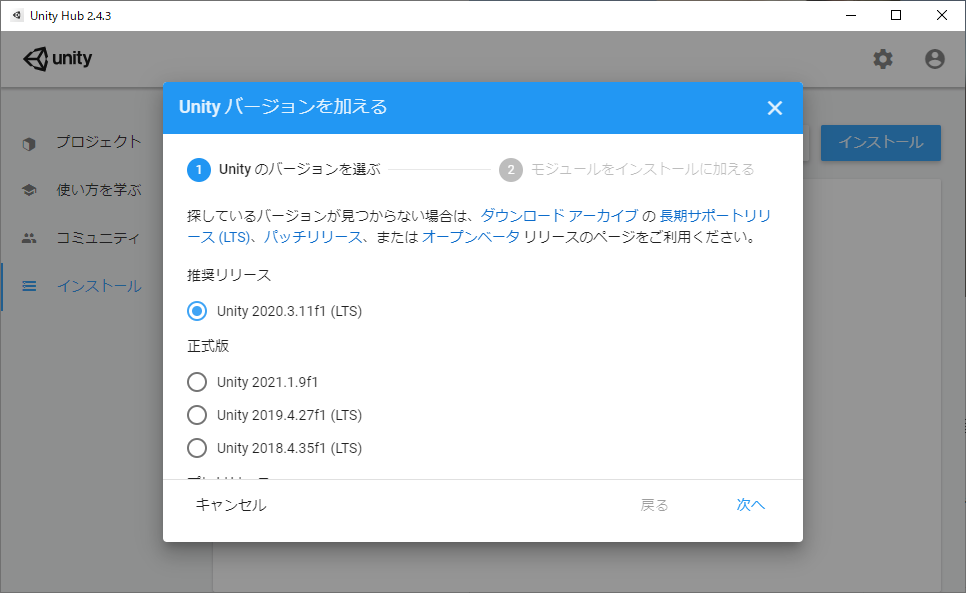
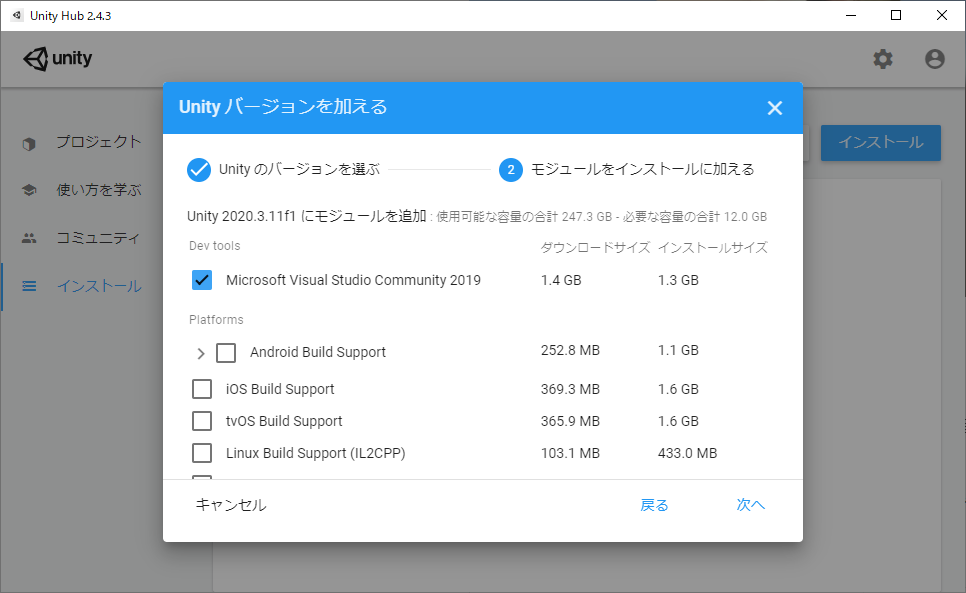
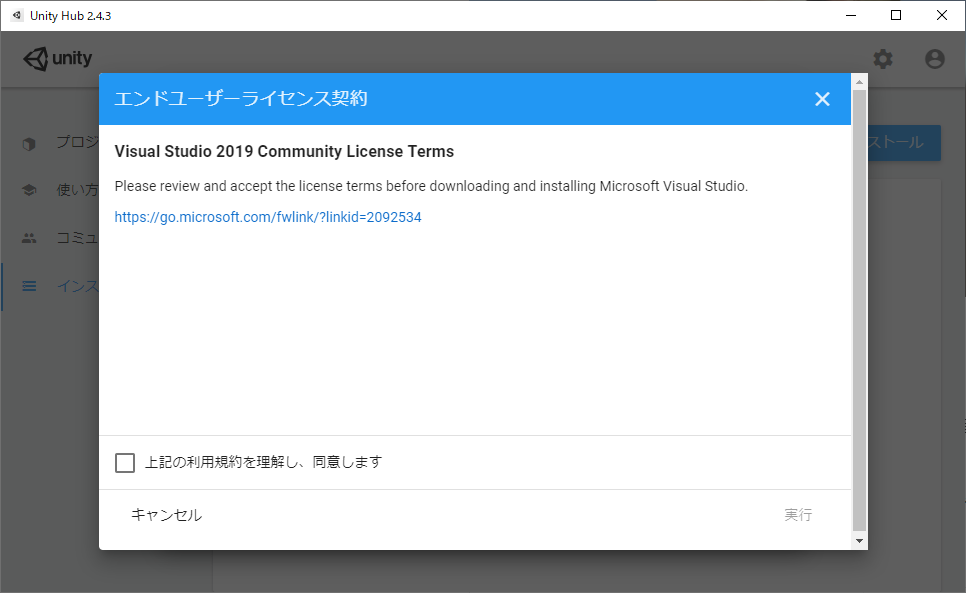
特に問題なくインストールされ、起動もできました。

一家のパパです。ものづくりが好きでいつも何か作っています。

コメント